

Producing web pages in HTML
Coding for beginners
The material on this page is based on a presentation by Robert Y Elphick at the July 2006 meeting. It was edited in February 2013 with minor changes and several notes on updates in green italics. A further revision was made in October 2016 to make the contents compliant with XHTML and HTML version 5.
Contents
- Introduction
- Tags
- Page Structure
- Page Content - Text
- Page Content - Lists
- Page Content - Pictures
- Page Content - Tables
- Page Content - Links
- Page Content - Special Characters
- Web Structure
- Sending your site to the server
- What Next
- Recommended Reading
- Summary of Tags

1. Introduction
Although there are a number of programs that allow the user to construct web pages without doing any coding, the only way to fully control the web-page contents is to learn to write your own HTML code. The coding can be performed in any text editor or word processor that allows saving of ASCII (text) files and will not try to interpret the HTML in browser mode. On a Mac you can use TextEdit but first you must put it in text mode using the menu option:
Format->Make Plain Text
If it is in Rich Text Mode it will not work properly with HTML files.
An even better text editor for the Mac is the freeware product TextWrangler produced by BareBones.
Once you have a text editor running and a page open, use the following instructions to begin producing web pages:
2. Tags
Tags are the key to HTML coding. Tags are instructions contained within angle brackets "<" and ">". In many cases two of these tags are used to surround an element such as text and tells a browser how to present the element. For example:
<p>A paragraph of good words here!
</p>
will produce a separate paragraph containing all the text between the first tag containing a "p" and then a second tag containing "/p". Note that the "/" character is always used in the second tag to denote the end of the command.
There many of these tags but you only need about twenty or thirty to make very nice looking web pages. There is a table summarizing the common ones at the bottom of this page.
3. Page Structure
Each page requires the following structural elements:
- The file should start with the html declaration. This is <!DOCTYPE html> for HTML version 5
- The file must have all its contents within the "html" tags
- The first section of the file must be contained between the "head" tags and contain the header information.
- The second section of the file must be contained within the "body" tags. It contains the all the material to be displayed on the web page.
Here is an example of the code for a web page with nothing in it:
<!DOCTYPE html>

<html>

<head>

</head>

<body>

</body>

</html>
Now we need to add some data. The only thing that is absolutely required in the header section is a title - this will be displayed in the top bar of the web page window and will also be used in the "history" menu of the browser. Now the example look like this:
<!DOCTYPE html>

<html>

<head>

   <title>My home page</title>

</head>

<body>

</body>

</html>
Note that the title should be unique for every page other wise it is not useful in the "history" menu of the browser - there is no way to pick the correct page if they all have the same name.
There are other parameters that can be set in the header but they are not required and are mainly for search engines. If you are only making a web site for your family and friends then they are not needed.
Note that the indentation is optional and is used by some programmers to make the code easier to read. In fact no indentation or carriage returns are required so you can make really ugly code if you like - it will not offend the browser that has to translate it, only the human who has to edit it!
4. Page Content - Text
Let us add some text (shown in red) to the body of the file. Here is an example with a silly poem:
<!DOCTYPE html>

<html>

<head>

   <title>My home page</title>

</head>

<body>

Spelling Poem


I have a spelling checker

It came with my PC


It plainly marks four my revue

Mistakes I cannot sea.


I've run this poem threw it

I'm sure your pleased to no.


Its letter perfect in its weigh,

My checker tolled me sew.


</body>

</html>
And here is what it looks like when displayed in a browser:
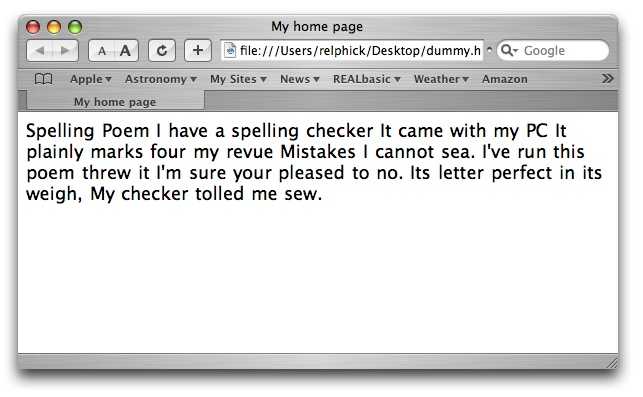
You view the text file in the browser by first saving it as a file called "index.html", and then dragging the file icon onto the browser icon like Safari in the Dock.
Notice that the browser ignored the carriage returns and the line feeds and just gave us continuous text. Now we need to place formatting tags into the text in order to get it to look the way we want. Some of the tags that can be used include:
| Tag |
Description |
| <p>...</p> |
make a paragraph with a space after the enclosed text |
| <h1>...</h1> |
make a large header |
| <h2>...</h2> |
make a medium header |
| <h3>...</h3> |
make a smaller medium header |
| <h4>...</h4> |
make a small header |
| <i>...</i> |
italicize the text between the tabs |
| <b>...</b> |
make bold the text between the tabs |
| <u>...</u> |
underline the text between the tabs |
| <big>...</big> |
make text larger |
| <small>...</small> |
make text smaller |
| <br /> |
force a new line at this tag |
| <hr /> |
make horizontal line across the page |
Notice that the last two tags stand alone and do not require two tags around an element. As a result they requires a forward slash at the end to indicate there is no second tag.
Now when we add the appropriate tags we get a formated set of text like so:
<!DOCTYPE html>

<html>

<head>

   <title>My home page</title>

</head>

<body>

<h1>Spelling Poem</h1>

<p>I have a spelling checker<br />

It came with my PC

</p>

<p>It plainly marks four my revue<br />

Mistakes I cannot sea.

</p>

<p>I've run this poem threw it<br />

I'm sure your pleased to no.

</p>

<p>Its letter perfect in its weigh,<br />

My checker tolled me sew.

</p>

<hr />

</body>

</html>
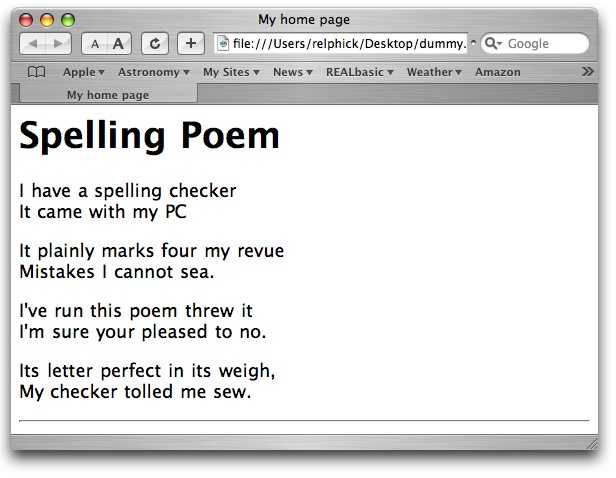
Experiment with the other formating tags until you get something that you like.
5. Page Content - Lists
List can be created on a web page by using the following three tags:
| <ul>...</ul> |
Generate an un-ordered list with bullets |
| <ol>...</ol> |
Generate an ordered list with numbers |
| <li>...</li> |
make a list element out of the enclosed text |
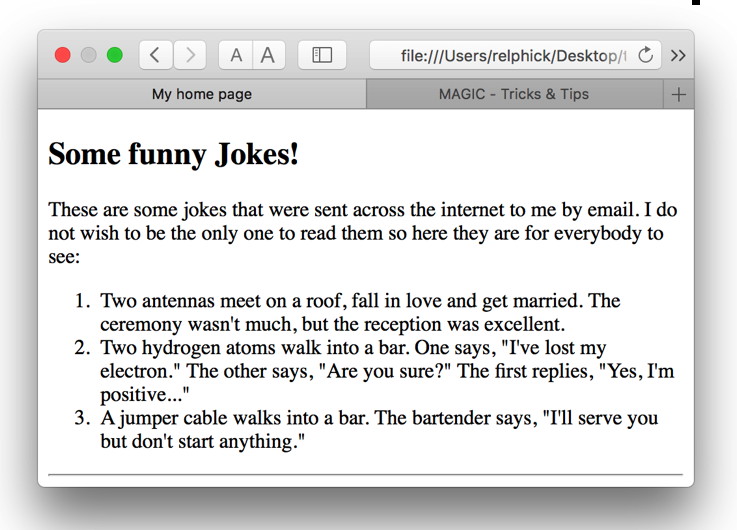
An example of a list on a web page:
<!DOCTYPE html>

<html>

<head>

<title>My home page</title>

</head>

<body>

<h2>Some funny Jokes!</h2>

<p>These are some jokes that were sent across the internet to me by email. I do not wish to be the only one to read them so here they are for everybody to see:

<ol>

   <li>Two antennas meet on a roof, fall in love and get married. The ceremony wasn't much, but the reception was excellent.</li>

   <li>Two hydrogen atoms walk into a bar. One says, "I've lost my electron." The other says, "Are you sure?" The first replies, "Yes, I'm positive..."</li>

   <li>A jumper cable walks into a bar. The bartender says, "I'll serve you but don't start anything."</li>

</ol>

</p>

<hr />

</body>

</html>
6. Page Content - Pictures
Adding pictures to a web page requires the image tag <img />. This tag has several possible attributes of which the first is required and the others are optional. I recommend, however, that you use the width and height attributes because they help speed up the rendering of the page because the browser knows how much space to reserve on the screen even before the graphic file has been downloaded.
All modern browsers are able to display the following three formats:
| JFIF/JPEG |
Used to display photo images (lossy compression) - uses millions of colors |
| GIF |
Used to display graphics and animations (lossless compression) - uses up to 256 colors and can animate multiple pictures within the file. |
| PNG |
Used to display all images and animations (lossless compression) - uses millions of colors |
The attributes for the image tag <img /> are:
- src - the source file containing the picture relative to the html file
- width - the width of the picture to be displayed in pixels
- height - the height of the picture to be displayed in pixels
- border - the width of the border in pixels (default is zero)
- alt - a title to be displayed if the browser cannot display the picture.
- align - place the picture to the left or right of the text (default is neither)
Here is an example of a page with a picture. In this case we have aligned the picture to the left so that the text flows around the right side of it.
<!DOCTYPE html>

<html>

<head>

   <title>My home page</title>

</head>

<body>

<h3>Page Content - pictures</h3>


<img src="graphics/mug.gif" width="185" height="185" align="left" alt="Mug Picture" />


<p>Adding pictures to a web page requires the image tag <img />.  This tag has several possible attributes of which the first is required and the others are optional. I recommend, however, that you use the width and height attributes because they help speed up the rendering of the page because the browser knows how much space to reserve on the screen even before the graphic file has been downloaded.

</p>

<hr />

</body>

</html>
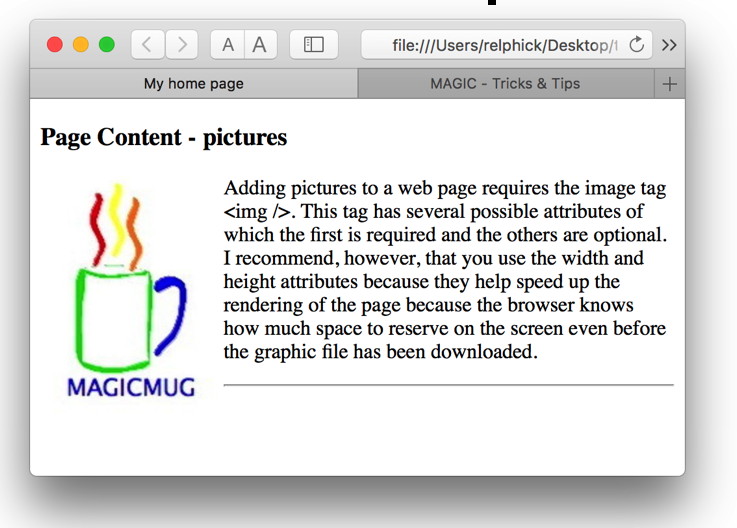
Note that the image file is in a folder called "graphics" and that the folder is in the folder place as the html file that produced this page. I recommend keeping images in a separate folder in this way so that a large website is easier to manage. As a site grows, having all the files in one place can become difficult to keep straight.
7. Page Content - Tables
The <table> tabs are used to arrange things into rows and columns. The contents can be any combination of text and graphics. They are often used to help arrange a web page aesthetically.
The tags that are used to build tables include:
| <table>...</table> |
surround the contents of the table |
| <tr>...</tr> |
surround elements of a row |
| <td>...</td> |
surround elements of a column |
| <th>...</th> |
surround elements of a column in a header |
First a simple example with three rows and two columns such that the first row contains headers:
<!DOCTYPE html>

<html>

<head>

   <title>My home page</title>

</head>

<body bgcolor="white" text="blue">

<center>

<h3>Example of a Table</h3>

</center>


<table border="1">

   <tr>

      <th>Item</th>

      <th>Description</th>

   </tr>

   <tr>

      <td>Shirt</td>

      <td>Item of clothing with a hole for each arm</td>

   </tr>

   <tr>

      <td>Pants</td>

      <td>Item of clothing with a hole for each leg</td>

   </tr>

</table>


<hr />

</body>

</html>
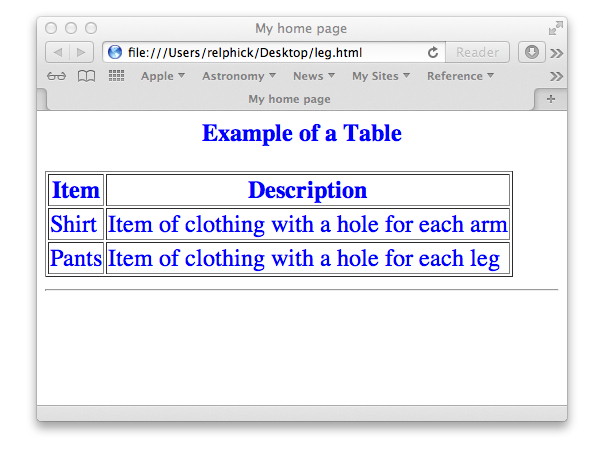
Note that the column elements are placed within a row.
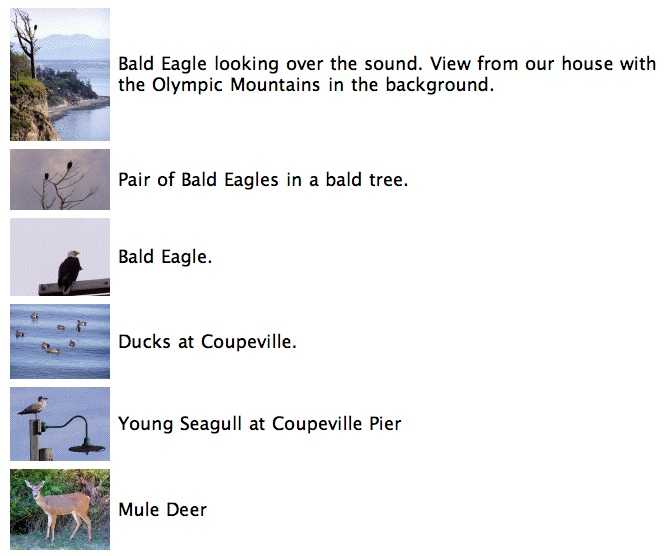
Below is a part of a web page in which the pictures and the text were arranged using a table with no border (border="0") but some cellpadding to provide a space between the elements, can you figure it out?:
8. Page Content - Links
One of the great strengths of HTML is its ability to provide links to other places within a web site or on the world wide web.
The <a> tag is used in two ways:
- With the "name" attribute marks a place to go to on a page.
- With the "href" attribute provides an address to link to - either a relative address or a full URL.
The following example shows how they are used.
<!DOCTYPE html>
<html>
<head>
<title>Link page</title>
</head>
<body>
<a name="top"><h3>Link testing page</h3></a>
<p>Ligula suspendisse nulla pretium, rhoncus tempor placerat fermentum, enim integer ad vestibulum volutpat. Nisl rhoncus turpis est, vel elit, congue wisi enim nunc ultricies sit, magna tincidunt. Maecenas aliquam maecenas ligula nostra, accumsan taciti. Sociis mauris in integer, a dolor netus non dui aliquet, sagittis felis sodales, dolor sociis mauris, vel eu libero cras. Interdum at. Eget habitasse elementum est, ipsum purus pede porttitor class, ut adipiscing, aliquet sed auctor, imperdiet arcu per diam dapibus libero duis. Enim eros in vel, volutpat nec pellentesque leo, temporibus scelerisque nec.
</p>
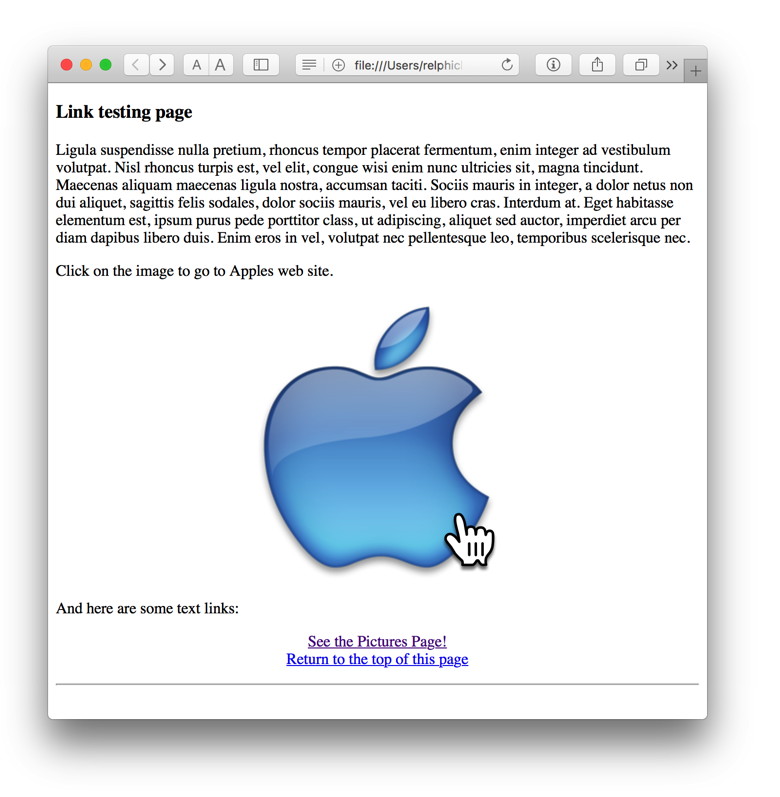
<p>Click on the image to go to Apples web site.
</p>
<center>
<a href="http://www.apple.com/"><img src="graphics/apple.jpg" width="250" height="292" /></a>
</center>
</p>
<p>And here are some text links:
<center>
<a href="pictures.html">See the Pictures Page!</a><br />
<a href="#top">Return to the top of this page</a>
</center>
</p>
<hr />
</body>
</html>
Note that the text links are rendered in blue and are underlined by default in most browsers. The first use of the <a> tag is to set an anchor within the page which can be referred to by other <a> tags.
Near the bottom of the code, last <a> tags refers to the anchor at the top of the page. The other two refer to external files, one at another site (so a full URL is used) and the other on the same site so that only a relative address is required.
9. Page Content - Special Characters
When writing text for HTML, only the standard letters and numbers will be properly rendered by a browser. Normal practice is to use the Unicode(UTF-8) character set in most 'wester' countries. Special characters need to be coded using a system which begins with an ampersand (&) and ends with a semicolon (;). Here are some common ones:
| Character |
Code |
Description |
| & |
& |
ampersand |
| > |
> |
greater than sign or right angle bracket |
| < |
< |
less than sign or left angle bracket |
| " |
" |
quotation marks |
| ˜ |
˜ |
tilde |
| © |
© |
copyright sign |
| ® |
® |
registered trademark sign |
| ™ |
™ |
trademark sign |
| ¢ |
¢ |
cent sign |
| € |
€ |
euro sign |
| £ |
£ |
pound sterling sign |
| ¥ |
¥ |
yen sign |
| Á |
Á |
Capital letter A with an acute accent |
| á |
á |
lower case letter A with an acute accent |
| à |
à |
lower case letter A with a grave accent |
| â |
â |
lower case letter A with a circumflex |
| ä |
ä |
lower case letter A with a diaeresis or umlat |
| ã |
ã |
lower case letter A with a tilde |
| ç |
ç |
lower case letter C with a cedilla |
Many more of these symbols can be found inline here. If you cannot find a symbol that you need, then consider rendering it with a graphics program and then using the graphic file in your website.
10. Web Structure
The first page that you produce is called the home page and is the one that your friends and relations should be directed to. It should have the name "index.html". I recommend that all the other files be placed in one or more directories so that you can better manage the website as it grows over time. You should keep all the material for the website in one directory and, of course, you should back it up regularly.
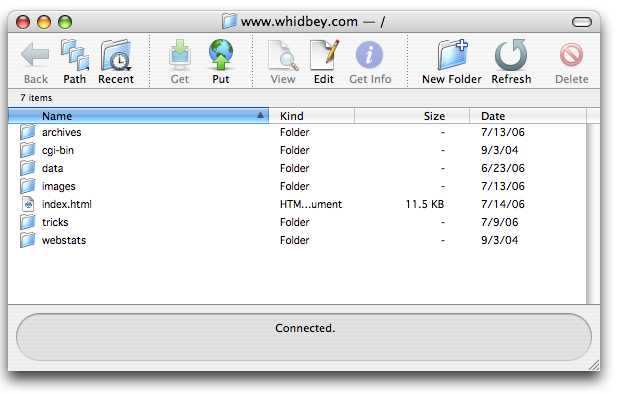
Here is the way the MAGICmug site looks on my computer:
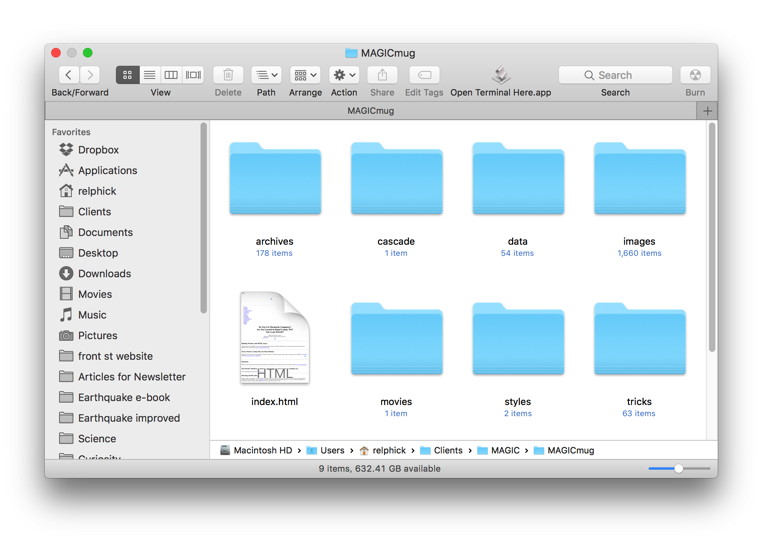
from the home page which is in the file "index.html" links to other files in this structure must refer to the correct folders. For example; to link to a file called "stuff.htm;" in the "data" folder it needs to be linked like this:
<a href="data/stuff.html">My Stuff</a>
Note the forward slash between the name of the folder and the name of the file. This is an example of relative location. To link to files in different websites you need to provide the complete URL of the website. For example:
<a href="http://www.Apple.com/stuff.html">Apple Stuff</a>
12. Sending your site to the server
Some of the WYSIWYG editors provide this for you if you provide the location, username and password of the server that you have rented (often a part of your email account for personal websites). If you are building your own website in HTML then you will need to upload the site yourself. This is done with a program that uses the FTP (File Transfer Protocol) to move the files and folders from one computer system to another.
There are many FTP applications for the mac in addition to the FTP capabilities of the unix operating system - the unix system requires using the Terminal application to type directly into unix. More friendly application that use the Mac GUI (Graphic User Interface) are the popular Fetch, a shareware application available at: http://fetchsoftworks.com/ and FileZilla, a freeware application available at: https://filezilla-project.org/
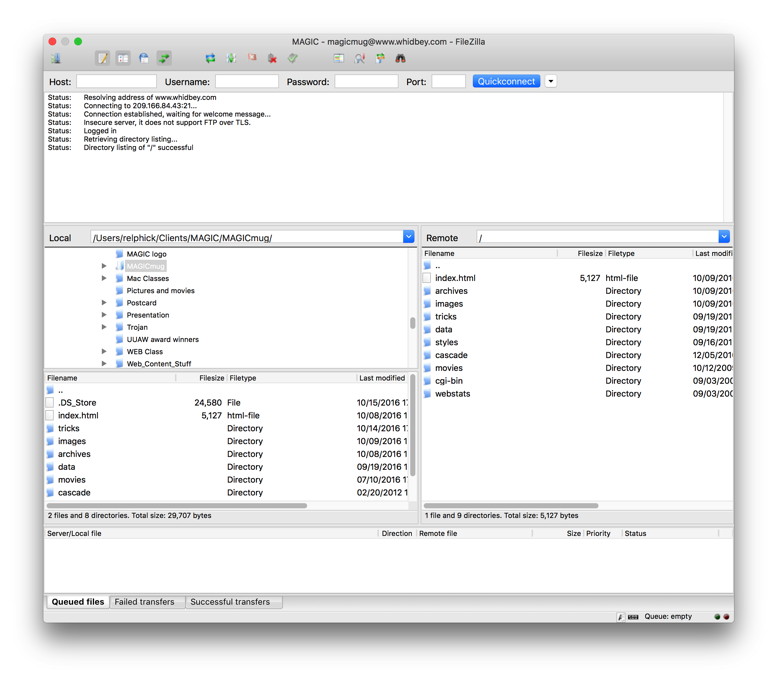
Here is the way the MAGICmug site looks with FileZilla (This is the one I use):
Here is the way the MAGICmug site used to look with Fetch:
Note that the files must have exactly the same structure on the server as on your computer so that the HTML pages can find each other correctly and also find all the graphics. So you must upload all the folders and files that you have on you computer without altering their relative positions.
12. What Next?
This page has enough information to enable any member to produce an impressive web site. However there are many more tags to use and many tag attributes to learn - the books in the next section will provide what you need. After that, you can gain more control over the look of your site pages by learning to use CSS (Cascading Style Sheets) - also in the recommended books.
Styles are a branch of HTML that is covered on this page of this website. Styles that modify and format the elements with the tags change the look of the elements and give the web builder control over all their possible styles. Styles may be used within the HTML pages but are often set up in a separate file called a Cascading Style Sheet (CSS) where many HTML pages can refer to it so as to keep all the pages using the same formats and styles. When the web page on styles is added to this website, a link will be added here.
Learning to use the scripting language Javascript is more advanced but will open up many more capabilities - especially being able to perform programming. And after that there are the worlds of PHP and MySQL for doing things with Server side data basing and scripting, but these are only needed for commercial sites. Most of us do not need to go there.
13. Recommended Reading
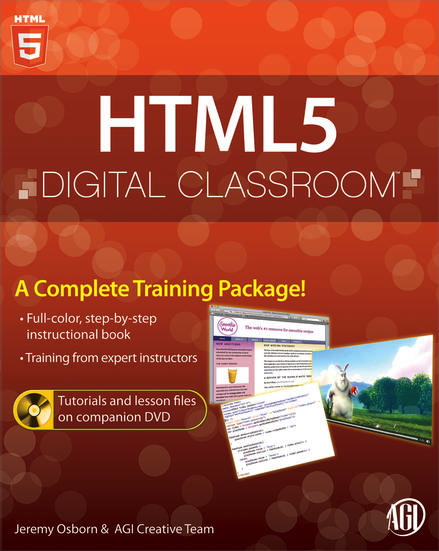 |
"HTML5 Digital Classroom" by Jeremy Osborn published by Wiley |
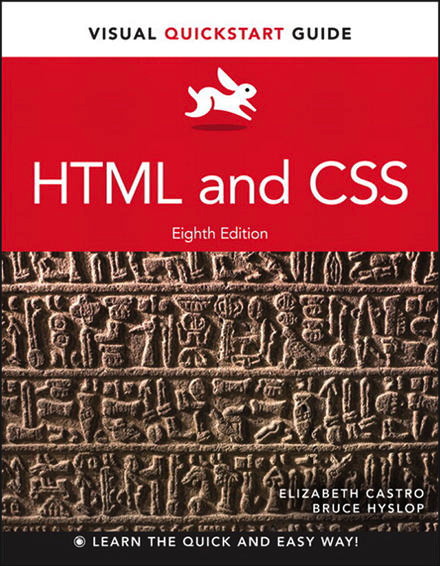 |
"HTML and CSS" Eighth Edition by Elizabeth Castro, a Visual Quickstart Guide published by Peachpit Press |
Clicking on either book will link to the iBooks version of the book. Both books can also be found inline and in bookstores.
15. Summary of Tags
This is not a complete set but it includes many of the common ones. Complete sets can be found in the reference books (see previous section).
| Summary of Tags |
| Tag(s) |
Attributes |
Description |
| General Tags |
| <html>...</html> |
|
Required at the beginning and end of each file. |
| <head>...</head> |
|
Required around the header section of the file. |
| <title>...</title> |
|
Required in the header section of the file - used in the window bar and for the history menu of the browser. |
| <body>...</body> |
|
Required around the body section of the file. |
| Text Tags |
| <p>...</p> |
|
make a paragraph with a space after the enclosed text |
| <h1>...</h1> |
|
make a large header |
| <h2>...</h2> |
|
make a medium header |
| <h3>...</h3> |
|
make a smaller medium header |
| <h4>...</h4> |
|
make a small header |
| <i>...</i> |
|
italicize the text between the tabs |
| <b>...</b> |
|
make bold the text between the tabs |
| <u>...</u> |
|
underline the text between the tabs |
| <big>...</big> |
|
make text larger |
| <small>...</small> |
|
make text smaller |
| <br /> |
|
force a new line at this tag |
| <hr /> |
|
force horizontal line |
| List Tags |
| <ol>...</ol> |
type |
Ordered list with numbers |
| <ul>...</ul> |
type |
Un-ordered list with dots |
| <li>...</li> |
|
An element within a list |
| Image Tag |
| <img /> |
src(required)
width
height
border
|
Put a picture on the screen |
| Table Tags |
| <table>...</table> |
border
cellpadding
cellspacing
width |
surround the contents of the table |
| <tr>...</tr> |
align
bgcolor
valign |
surround elements of a row |
| <td>...</td> |
align
bgcolor
colspan
width |
surround elements of a column |
| <th>...</th> |
align
bgcolor
colspan
width |
surround elements of a column in a header |
| Link Tag |
| <a>...</a> |
href
name |
surround the text or picture to be linked or anchored |
This table is only a partial list of tags and possible attributes.
|
Copyright:
|

©Macintosh Appreciation Group of Island County (MAGIC) 2006 - 2016
last updated: 26 November 2016
|
|